How to use Midjourney in OmniGPT?
updated 2 months ago
To get started with Midjourney, follow these simple steps:
Step 1: Select Midjourney
Choose Midjourney from our models list.
Step 2: Write Your Prompt
Enter your prompt, such as "Generate a pink cat by the pyramids of Egypt"
Step 3: Generate Your Image
Click enter, and Midjourney will start generating your image.
Please note that Midjourney generations take slightly longer than DALLE 3 generations, so be patient.
Step 4: Refine Your Image
Once the image is generated, you'll see the following buttons: U1, U2, U3, U4, and V1, V2, V3, V4. Each number corresponds to one of the 4 images displayed.
The numbers represent the image positions: 1 (top left), 2 (top right), 3 (bottom left), and 4 (bottom right).
Upscale (U) Click the U button followed by the number of the image you want to work on. For example, if you want to upscale the bottom-right image, click U4.
Vary (V) If none of the images meet your requirements, click the V button followed by the number of the image you like the most. This will generate new variations based on that image. For example, if you want to vary the bottom-right image, click V4.

Example: U4. Upscale: Think of "Upscale" as "Make Bigger" or "Choose Your Favorite". It means selecting the image you like the most and making it even better.
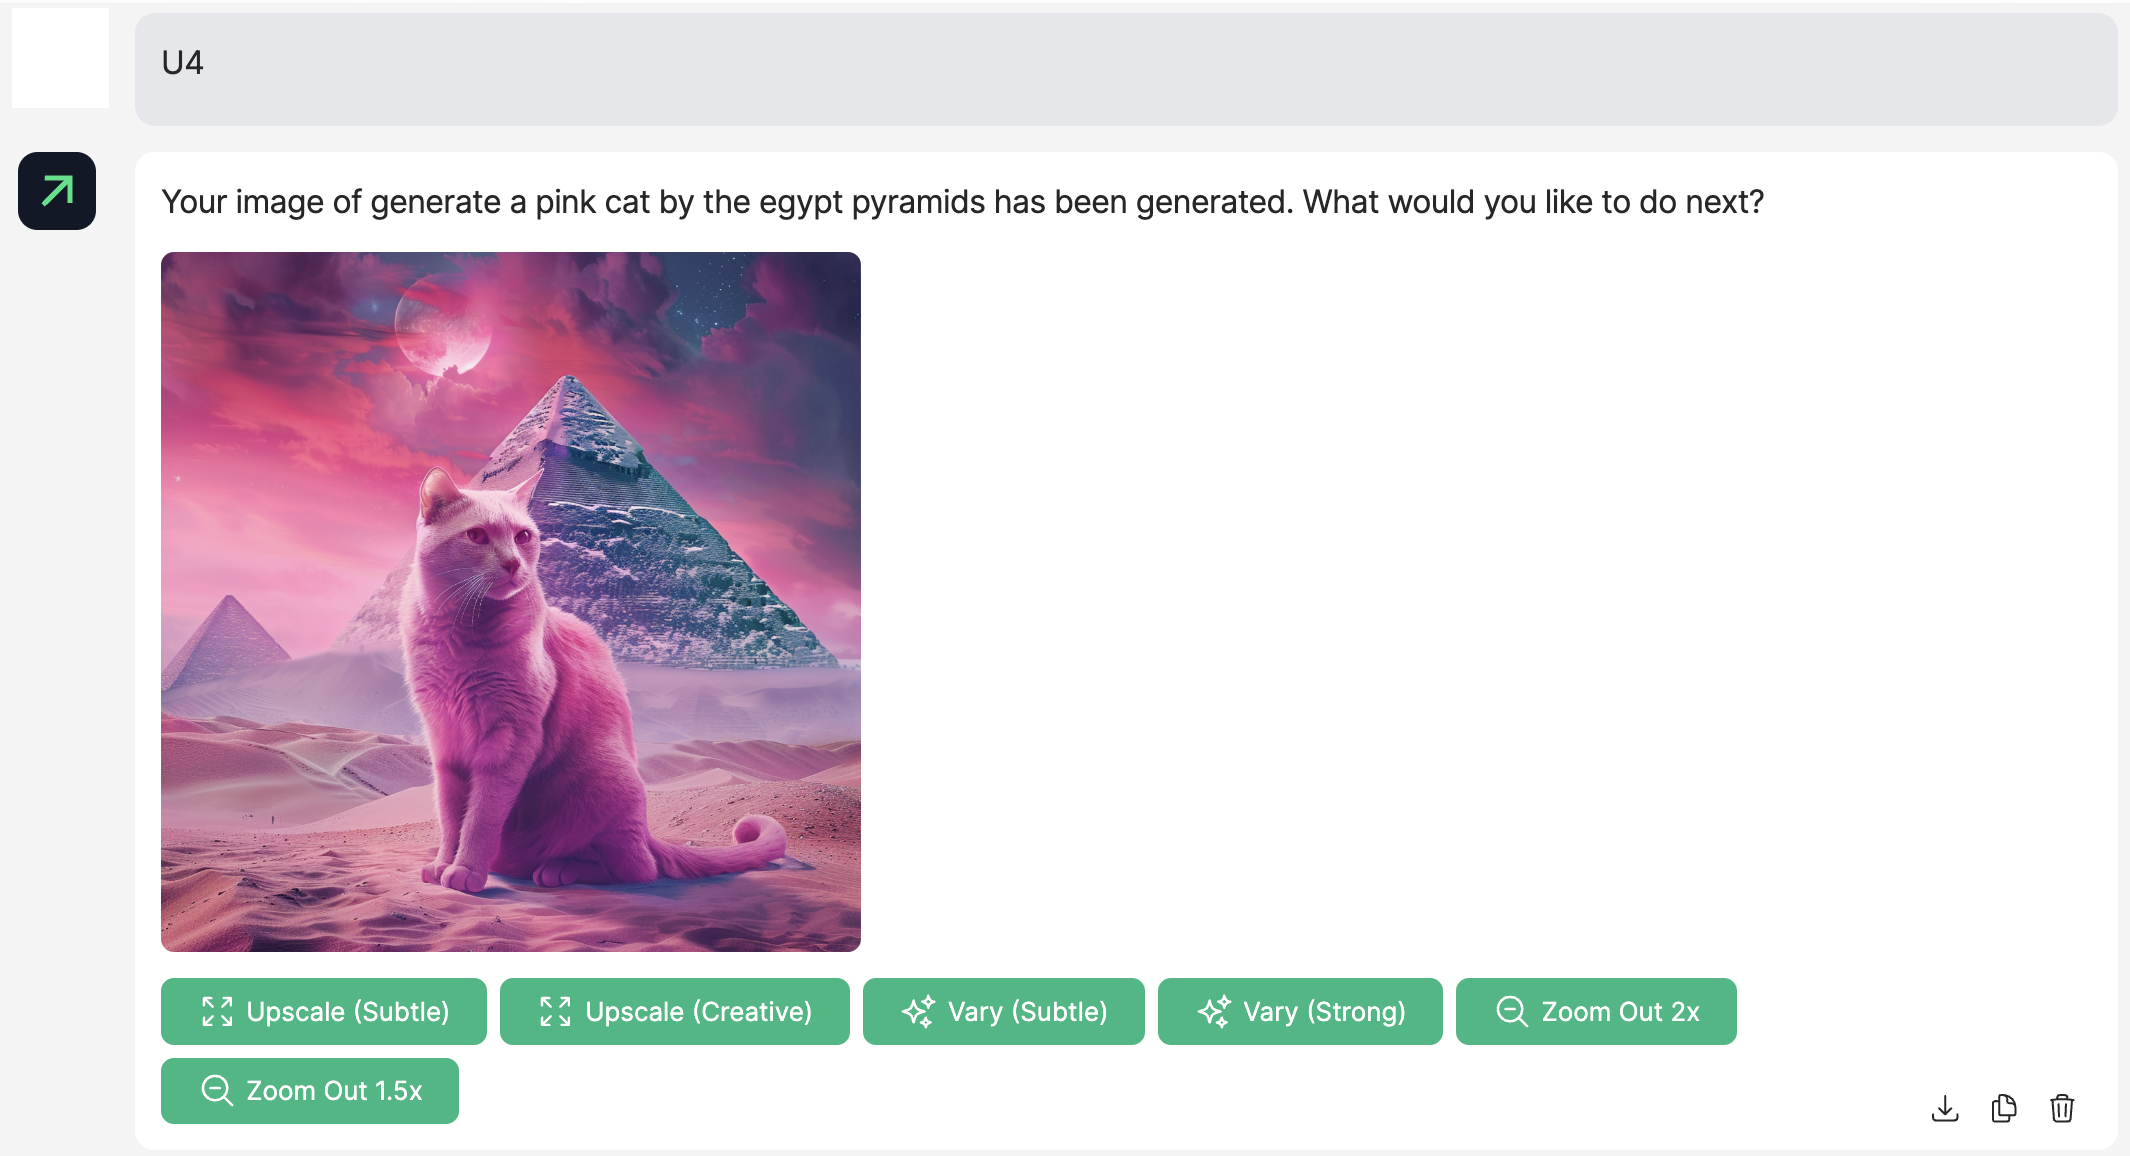
Once you've selected the image you like the most by clicking U4, you'll be presented with several options to further refine and enhance your image. Here's an explanation of each button:
1. Upscale (Subtle)
This option utilizes machine learning to subtly enhance details, sharpness, and overall quality. The goal is to create the illusion of a higher resolution image without significantly altering the original.
2. Upscale (Creative)
It takes a more artistic approach. It might add new textures, details, or even slight compositional changes to make the image more intricate and visually engaging.
3. Vary (Subtle)
This option generates a variation of your chosen image with minor tweaks. It maintains the general look and feel but introduces slight changes to explore different versions.
4. Vary (Strong)
This option creates a significantly different variation based on your selected image. It allows you to explore more radical adjustments while staying true to the original concept.
5. Zoom Out 1.5x
This button zooms out the image to show 1.5 times more of the surrounding scene. It provides additional context and expands the visual space around the central subject.
6. Zoom Out 2x
This zooms out even further, displaying twice the amount of surrounding scene compared to the original image. It provides a broader context and gives a more panoramic view.
These options provide flexibility in refining your chosen image, allowing you to enhance and explore new artistic directions or simply make the image bigger and more detailed. Experiment with each to see which best fits your creative vision.
Okay, cool. However, I don't like any of the 4 images provided.
If you get a first batch of pictures and none of them meet your expectations, you can still proceed easily. Choose the image that is closest to what you are looking for and click on the corresponding V button followed by its number (e.g., V3). This allows you to get a new batch of 4 pictures that are variations based on the selected image
Variation Example
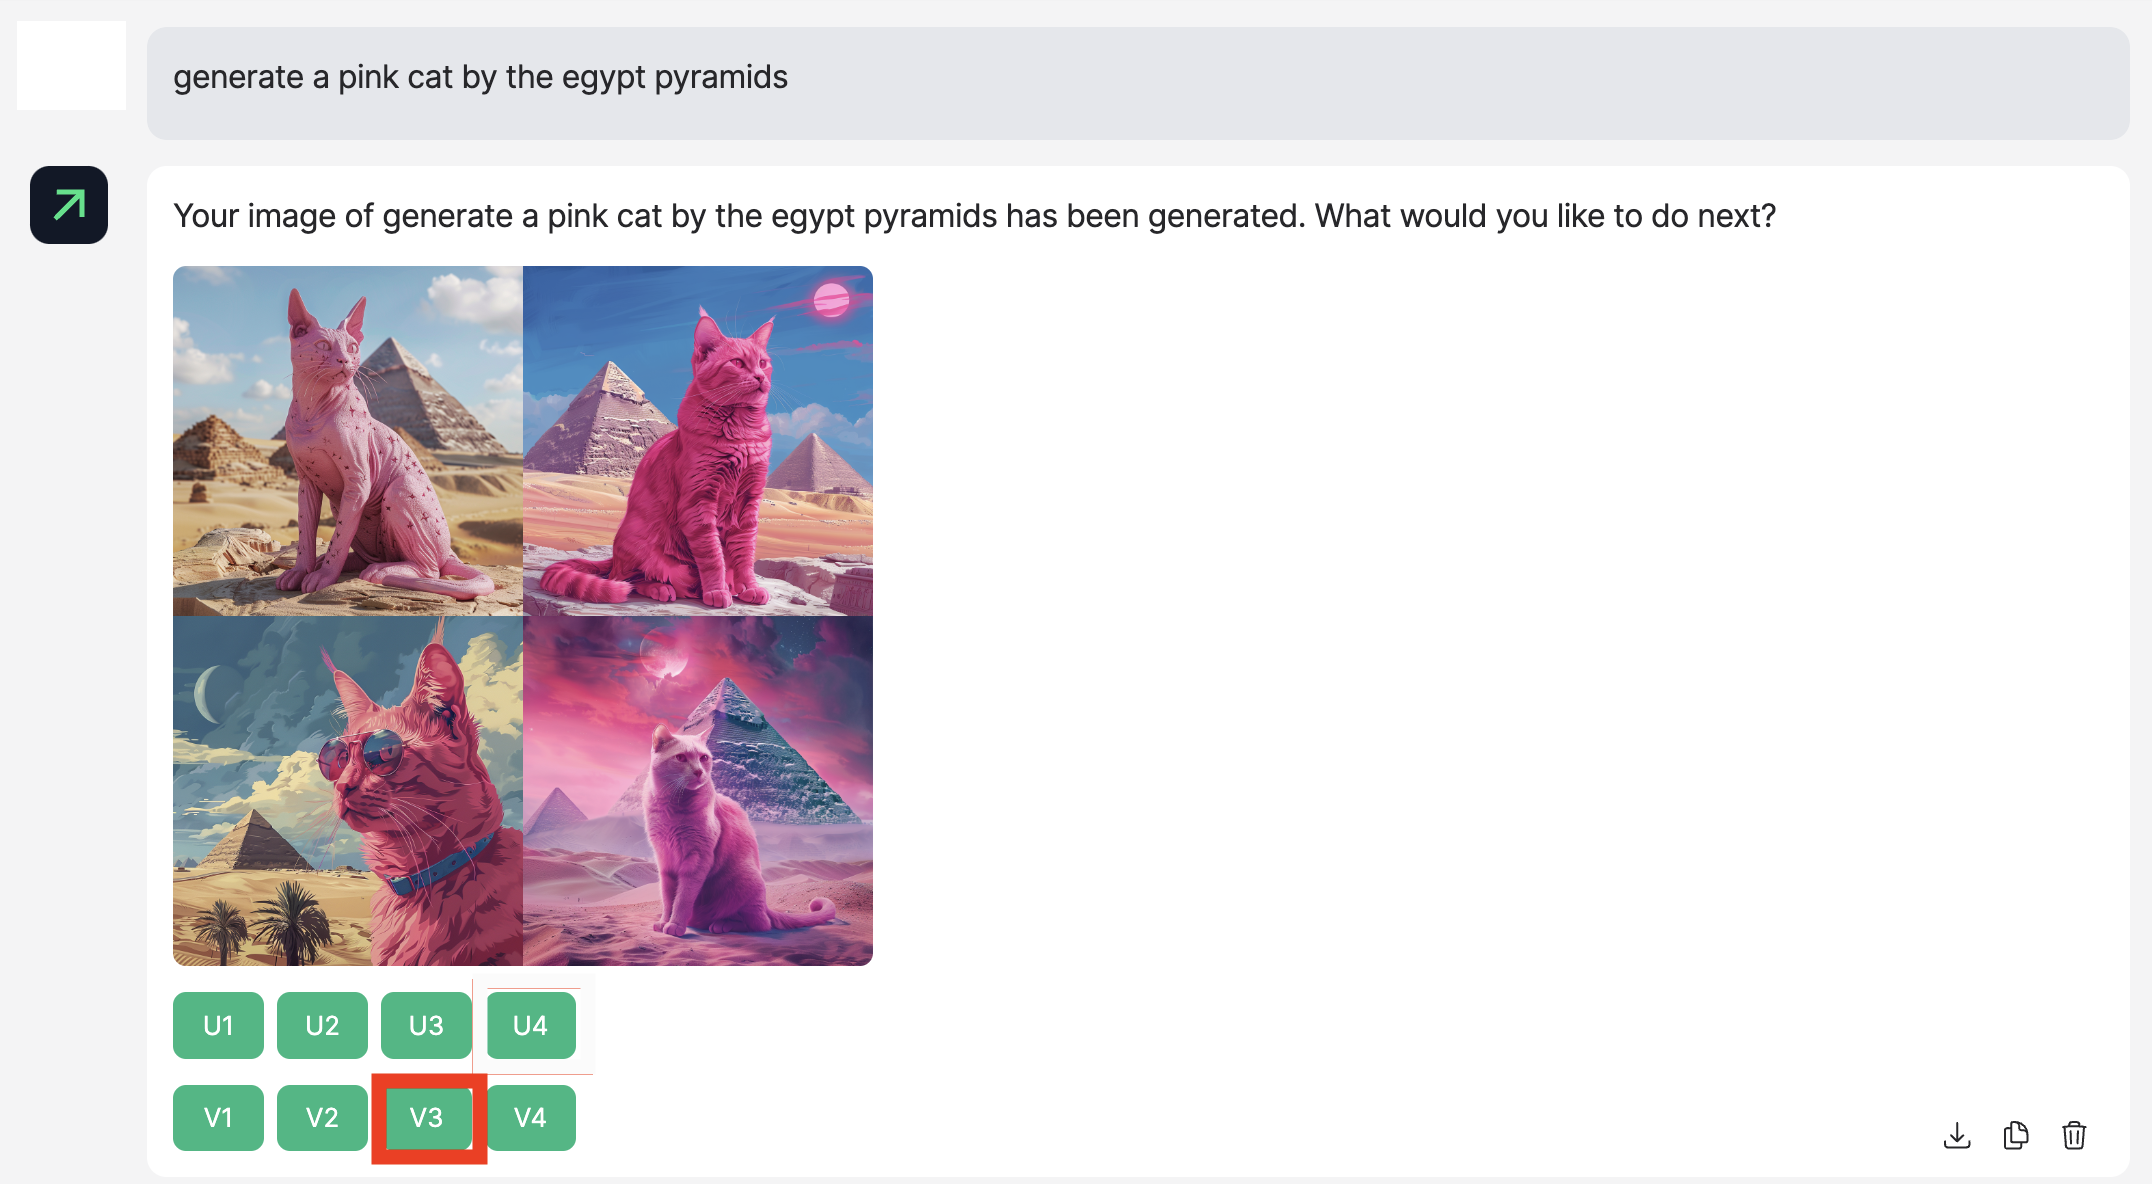
Since I like image number 3 the best, I will make a variation using that image as a reference.

Next, choose an image, click Upscale, and then work on it. (Explained above)
Was this article helpful?